13 Useful Tips for Organizing and Storing Hobby Gear for Apartment Renters
Share this article:
If you’re an outdoor fan living in an apartment, chances are it’s challenging to fit all your outdoor gear whether it’s your bike, canoe, fishing poles or camping essentials – inside your home without compromising on comfort and organization. Moreover, with apartment sizes going down, the task can become even more difficult. However, with a little help from the creativity fairy, you can make it happen. Let’s take a look at some ways that you can store outdoor gear inside your apartment:
1. Re-evaluate your outdoor gear
Before thinking about how you will store your outdoor gear, you should make an inventory of all the items you have to help get a picture of how much stuff you need to store, from camping equipment, tents, flashlights and more. Look for signs of wear and tear or any other signs of malfunction. Replace the items that can’t be used again and place your old ones in a “toss” pile. Also, go through the gear that’s in good condition and check whether you’re still using it – if it hasn’t seen use in the past year, you should put it in a “discard” pile. Sticking to the essentials is also a practical solution, as you end up needing less storage space. You can resell them or donate them to charity shops.
2. Make organization your best friend
Before finding a temporary spot for your gear, group all your items by activities. Apply the same principle when you store them – you’ll thank yourself later. You’ll want to keep all your kitchen gear in the same place so that you can easily find it when you go camping. Also, this is a good place to start your storage strategy. Store smaller items in larger ones. For instance, use your bear canister or your hiking backpack to store other outdoor items.
3. Carve out dedicated storage for your gear
It’s probably best to dedicate a specific area of your home to storing outdoor gear, but if space isn’t on your side – as it happens quite often with apartment living – you can use various spots in the home to store your items. Try to keep them grouped by category to make putting them together as easy as possible when the time comes to go out in nature again.
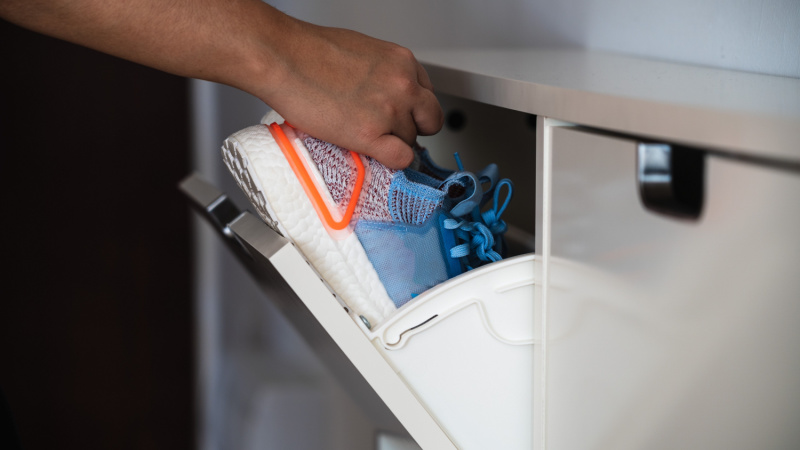
4. Create a shoe storage system at the entrance
Gear storage begins when you first step foot into your home. Your climbing shoes, for instance, are the first items that need their own space. To avoid spreading dirt and dust from your shoes into your home, invest in either a show tray or shoe baskets. Both solutions help to reduce clutter in your home – when did your hiking boots migrate close to your living room anyway? – and also keep outside dirt from invading your home.
5. Use your hallway closet to store gear
If your hallway closet is relatively spacious, you can find your coats another spot inside your home so you can keep your larger gear here. Instead, keep your bike here. On the shelf lying on top of the rack where you normally hang your coats, you can place your bike helmets. You can also add gear hooks or a vertical wall mount – space permitting – to maximize the storage capabilities of your closet. You can hang your waterproof jackets and other items you need to get out the door and enjoy the outdoors, making going out in nature much more convenient.
6. Turn to the classic storage bins
Storage bins are always an excellent storage solution. They keep everything neatly organized and dust-free and you can always find what you’ve stored. Make sure to group your items by activity. This storage solution is ideal for small camping gear. Go for clear bins and don’t forget to label them. You can cover them with a blanket and put them in a corner of your apartment or your bedroom. They can double as a nightstand.
7. Carve storage space inside your bedroom closet
You can play with the space you have at hand to insert some outdoor items here too. Here’s what you can use inside your bedroom closet that can also offer storage solutions for your outdoor gear:
- Long shelves
Use the long shelves at the top to store a bunch of miscellaneous items or even your larger backpacks. Your sleeping could also fit here, especially if you can’t store them uncompressed.
- Over-the-door storage
You can also use your closet door to make the most of the space you have at hand. Place a shoe rack organizer there to keep smaller items such as water bottles, batteries, flashlights and more.
- Command hooks and pegs
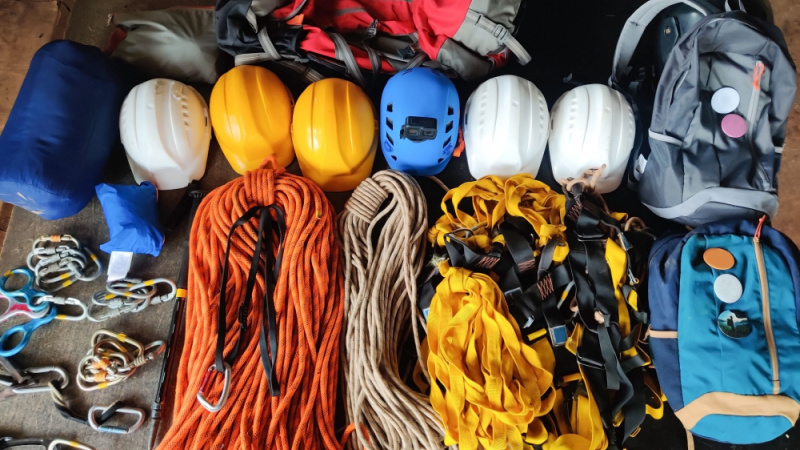
Install hooks and pegboards for ropes, helmets, hats, trekking poles and other hangable items.
- Roll-out-shelves
Roll-out shelves are also a great storage solution for the inside of your closet. Use a portion of your closet to install them if you want to use your closet. When you install them, you get to fully use your closet space and you can have easy access to all your smaller items. You can add a deeper top shelf to store bigger items.
8. Turn to furniture with storage
A lot of times, the kind of furniture which also packs storage options is underutilized. Pieces such as ottomans, coffee tables and benches with storage can also help you better manage your outdoor gear. You can store smaller items that you use when you go camping – from sleeping bags to tents.
9. Use the space the under furniture space
The space under your bed or your couch might not spring to mind when you think about places you can stash your outdoor gear, but it can provide real help in this sense. Long items such as skis, backpacks and beach chairs can easily slide under a couch or a bed. Plus, they’re items that you don’t use every day, so keeping them out of sight won’t inconvenience you too much.
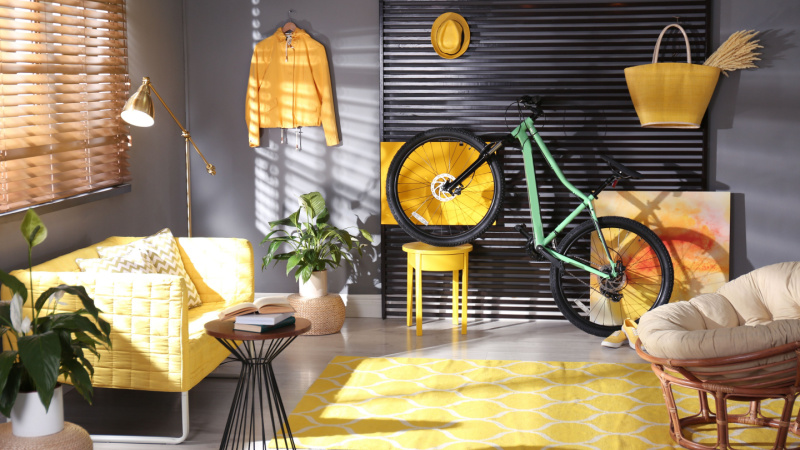
10. Place your bike or kayak and more on the wall
When space becomes a challenge, it’s time to take it on. Walls are an excellent place for your bike, canoe or even skis can sit comfortably. You can install a bike rack on the wall – to support one or two bikes. If you’re allowed to drill holes in the walls, you can put in hooks for your skis, kayak or surfboard. Plus, these items can double as wall décor. You can group them by category – skis and snowboard for a wintry feel or surfboard and paddleboard if you’re a beach fan. Adding a braided rope can enhance the nautical look of the room. Wrap a part of the rope around the surfboard and tie a loop at one end and let it hang.
11. Make the ceiling work for you too
The ceiling might not be the most obvious place to keep anything, but it’s well worth a try if you don’t have enough room in your apartment for all your outdoor gear. Hang your hammock across the ceiling for an Oriental look – this automatically creates storage space for lightweight gear. Additionally, running a climbing rope from one corner of the ceiling to another can help create extra space to hang outdoor gear.
12. Remember outdoor clothing
This category deserves its own section because outdoor clothing requires a little extra care before putting them in storage. Make sure to wash all your clothing items before putting them in storage. Let them completely air out to make sure they don’t retain any moisture. Put larger items of clothing in clear plastic bins and smaller ones can go in dresser cubes if you have a dresser. You can put your beanies, gloves, socks and other paraphernalia in one of the drawers.
13. Put your outdoor gear in self storage
Even if you were able to squeeze extra space for outdoor gear in your apartment, you might find that you either can’t fit it all – especially if you’re a true blue nature enthusiast – or that keeping it all inside might leave your living space feeling a little cramped, especially if you live in a smaller apartment. Since outdoor gear gets seasonal use, it doesn’t need to take up space at home. Instead, you can put it in a storage unit near you and retrieve it when you’re ready to hit the trails or the slopes. Find a storage unit near you to make sure it doesn’t take long to get there and back home. Next, decide on the unit size you need. A 5’x5’ unit is ideal for the smaller-sized gear, but a 5’x10’ or a 10’x10’ unit is more appropriate for larger ones such as skis or fishing poles. To make sure you get the right size for your needs, you can consult this storage unit size guide.
As far as pricing goes, there’s considerate variation, mostly based on location, with some cities having higher rates than others. For instance, renting a storage unit in San Francisco costs $266/month. Similarly, if you live in New York City, NY, ($250/month) Los Angeles, CA, ($259/month) or Chicago, IL,($125/month) you’re also likely to see higher rates. Alternatively, in cities such as Columbus, OH, ($93/month), Boise City, ID, ($115/month), Charleston, SC, ($117/month), or Austin, TX, ($120/month) rates are lower.
Share this article:

Mirela Mohan
Mirela is a senior real estate writer at CoworkingCafe. After covering real estate trends, lifestyle, and economic topics with StorageCafe, she now focuses on coworking and remote work trends. Outside of work, Mirela enjoys reading, hiking, and creating art. You can contact Mirela via email.
Sign up for The Ready Renter newsletter
Get our free apartment hunting guide — plus tips, trends, and research.
")

")

Related posts

Green flags vs. red flags: what to notice on every apartment tour
Finding a place online is the easy part. The apartment tour is where you find out what the photos left out. For a first-time renter,…

Renting like a local: 5 questions to ask before signing a lease in Boston
Boston is one of the most rewarding cities to call home. It’s walkable, full of history and packed with distinct neighborhoods that each have their…

Here’s how to get around Pittsburgh as a renter using public transit
Pittsburgh is a city of three rivers, steep ridges and nearly 450 bridges. All that terrain shapes how you get from your front door to…
Subscribe to
The Ready Renter newsletter